Your Space
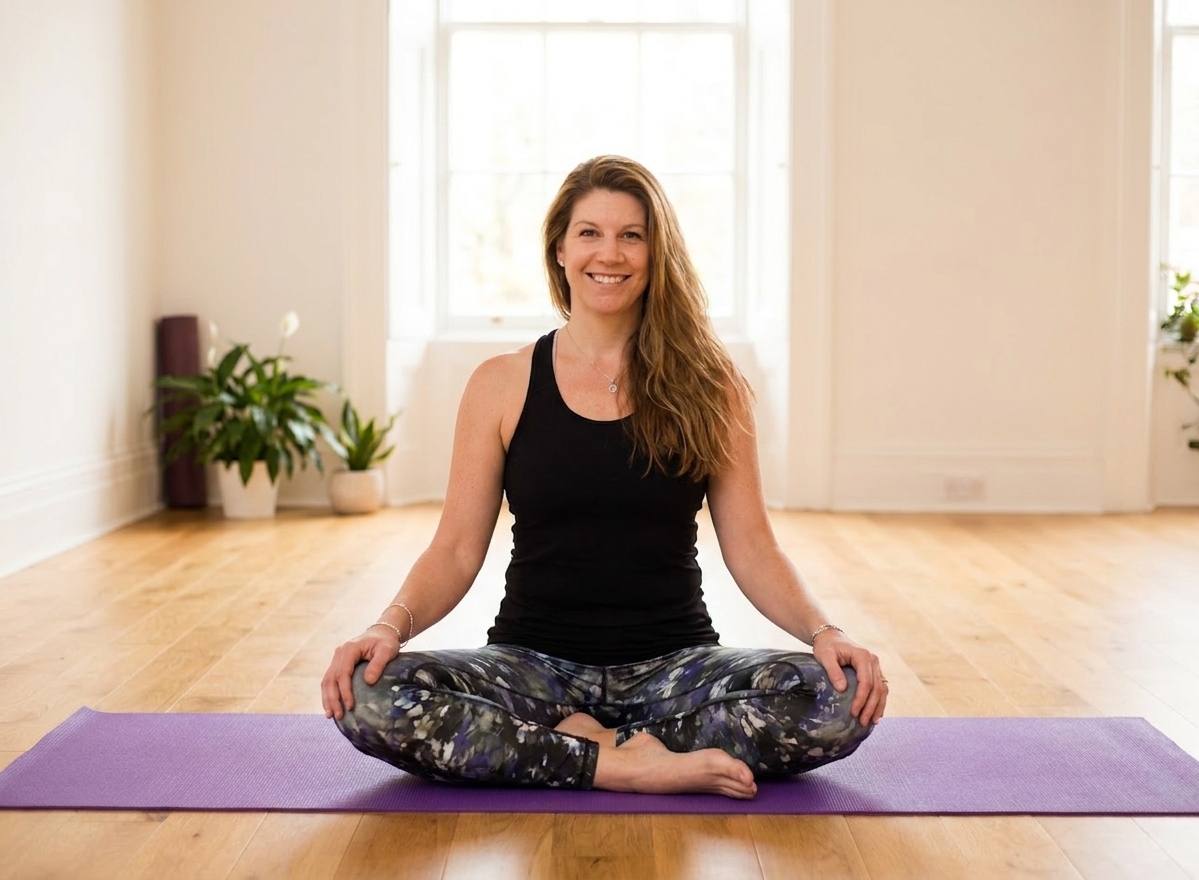
At minimum, you need space about the size of a yoga mat. Ideally, you should be able to circle your arms and legs freely without bumping into furniture, walls, or surprised family members.
Think of it this way: if you can lie down and make snow angels without hitting anything, you're good to go.
Your Camera Setup
You'll need a device with a camera - a phone, tablet, or laptop all work fine.
The key things:
Distance: Place your camera far enough away that I can see your whole body when you're lying down. The further away, the better I can observe your movement.
Angle: Ideally, position the camera opposite the long side of your mat so I can see you from the side. If space is limited, a diagonal angle works too. Avoid having me look directly at your feet or head - I need to see how your whole body is moving.
Stand or prop: If you're using a phone or tablet, a simple stand helps enormously. Balancing it against a stack of books works in a pinch, but a stand gives you more flexibility with angles.
Don't worry about seeing me: For most of the session, you won't need to look at the screen. I'll guide you verbally, and you can stay focused on your own body and movement.
Lighting & Visibility
Try to be in a well-lit room. Natural light is lovely, but not if you're positioned directly in front of a bright window - otherwise I'll be teaching a silhouette, and that makes it very hard to see what's happening in your body.
Also (and I say this with love), please try to be visible. A black outfit on a black mat in a dark room makes me a very squinty teacher. Contrast is your friend!
Technical Bits
I use Zoom for sessions. You'll receive a meeting link 24 hours before your class.
Make sure you have a stable internet connection. You don't need lightning-fast speeds, but a consistent connection makes everything smoother.
Creating Your Space
Choose a room where you can concentrate away from laptop pings, text messages, kids, and pets. This is your time - protect it.
(That said, pets and children occasionally wandering into frame is completely fine and often delightful. Just try to minimise distractions so you can focus on your practice.)
What You Need (Equipment-Wise)
For your first session:
A yoga mat is ideal, but a towel will work if that's what you have (especially if you're travelling or just trying this out).
If you're on hard flooring, a second towel can serve as a cushion for your head or knees.
That's it. Truly.
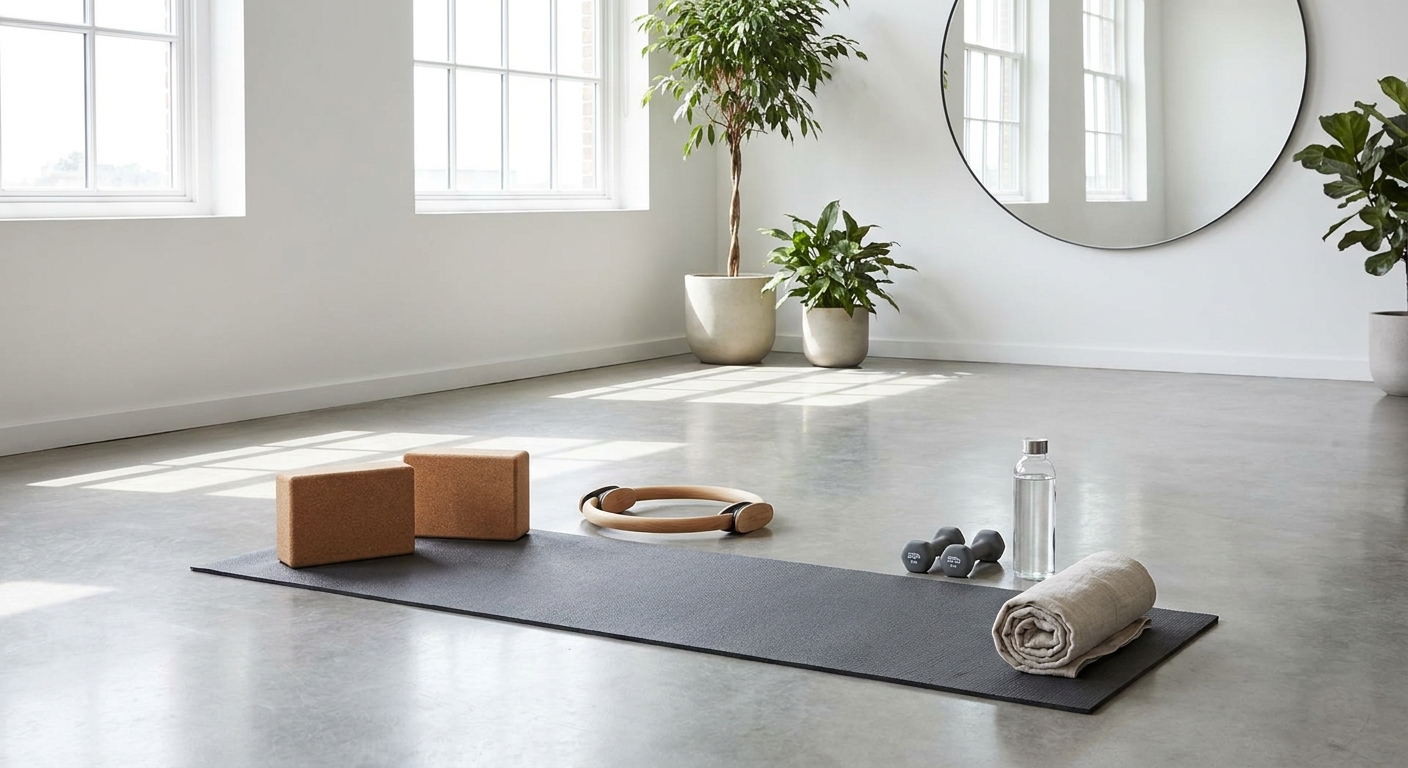
If you have exercise equipment - weights, resistance bands, a Pilates ring, yoga blocks - fantastic! Let me know in advance and we can incorporate them. But if you don't have anything, that's absolutely fine too.
Over time, it's fun to add variety to exercises, but we can improvise brilliantly: water bottles can replace weights, old tights can serve as a resistance band, a book can work as a yoga block. There are plenty of ways to work with what you have.
If you want to invest in equipment eventually, I'd recommend:
None of this is necessary for your first session. We'll start with what you have and build from there.
Before We Start: The Medical Questionnaire
You'll receive a medical questionnaire before your first session. This is strictly confidential and stored securely for only as long as you're working with me. The information is never shared or used for marketing - it's purely so I can keep you safe and make sure all exercises are appropriate for your body.
We'll spend a few minutes at the beginning of your first session going through the questionnaire together, and we'll also chat about your previous movement experience and what you're hoping to achieve.
What Actually Happens in Your First Session
I usually start by moving through a gentle head-to-toe warm-up with you. This can be done seated on a chair or on your mat, depending on what feels right for you. It helps you get used to my instruction style and gives me a chance to see how your body moves.
Then I'll guide you through an appropriate workout based on what we've discussed and what I'm observing.
The first session is usually a bit easier - we're getting to know each other, and I'm learning about your body. We can always progress and challenge you more in later sessions. There's no need to prove anything on day one.
We'll finish with a gentle wind-down, and I'll leave time for a quick chat afterwards. If questions arise later, you can always email me.
Timing
We do begin and finish sessions on time. I usually have another client immediately after you, so I can't run over. This also means your session won't be cut short by someone else running late - your time is protected.
The Bottom Line
Does this all sound a bit complicated? I promise it's not.
Once you've set up your space the first time, it becomes second nature. Most of my clients never looked back after trying their first online session - many have been working with me for over a decade, including through my move from London to Berlin.
Online teaching allows for genuine personalisation, real-time feedback, and the convenience of practicing in your own space without commuting to a studio.
If you have questions before booking, please don't hesitate to get in touch. I'm happy to answer anything that would help you feel comfortable taking that first step.
Ready to Book?
Contact me to schedule your first session →
Anja Dobler Integrated Movement & Breathwork Specialist Based in Berlin | Teaching internationally online www.anjadobler.com